Taig motor mount
I needed a (temporary) motor mounted to the taig while I look for a nicer set up. I decided to use a random motor I had that should have some torque. It probably came from a cordless drill with a broken something.
I found some 10 mm thick (unknown kind of) plastic plate scraps that might work for a mount. I'd need a 35 mm hole to clamp the motor. I was wondering if I could bore that out now that I have a four-jaw and a lathe.
Setting up
I was surprised by the heft of the four jaw chuck. I put it on a scale and it's a nice 1290 g of steel! I don't know if it's the original Taig chuck (pn 1030) as there's no marks or labels, but it seems to resemble the pics so closely that I presume it is.
So, how big a piece can I grip? Taig says 3 1/4 in (82.5 mm) which sounds pretty generous. Of course that's not a promise that the lathe will have room for turning even if the jaws reach.
But, reversing the jaws and trying out, there is enough swing over bed to screw out the jaws much farther than I would; up to about half the groove in the bolt showing. Even if you tighten back to where both sides have both threads engaged, you still have 80 mm between the largest steps. The roughly 113 mm diagonal of 80 x 80 square should clear anything the bolt ends do at 117. The minimum size of 1/8 in seems pretty small as this really won't close on a tiny shaft. I really really want a collet adapter sometime.
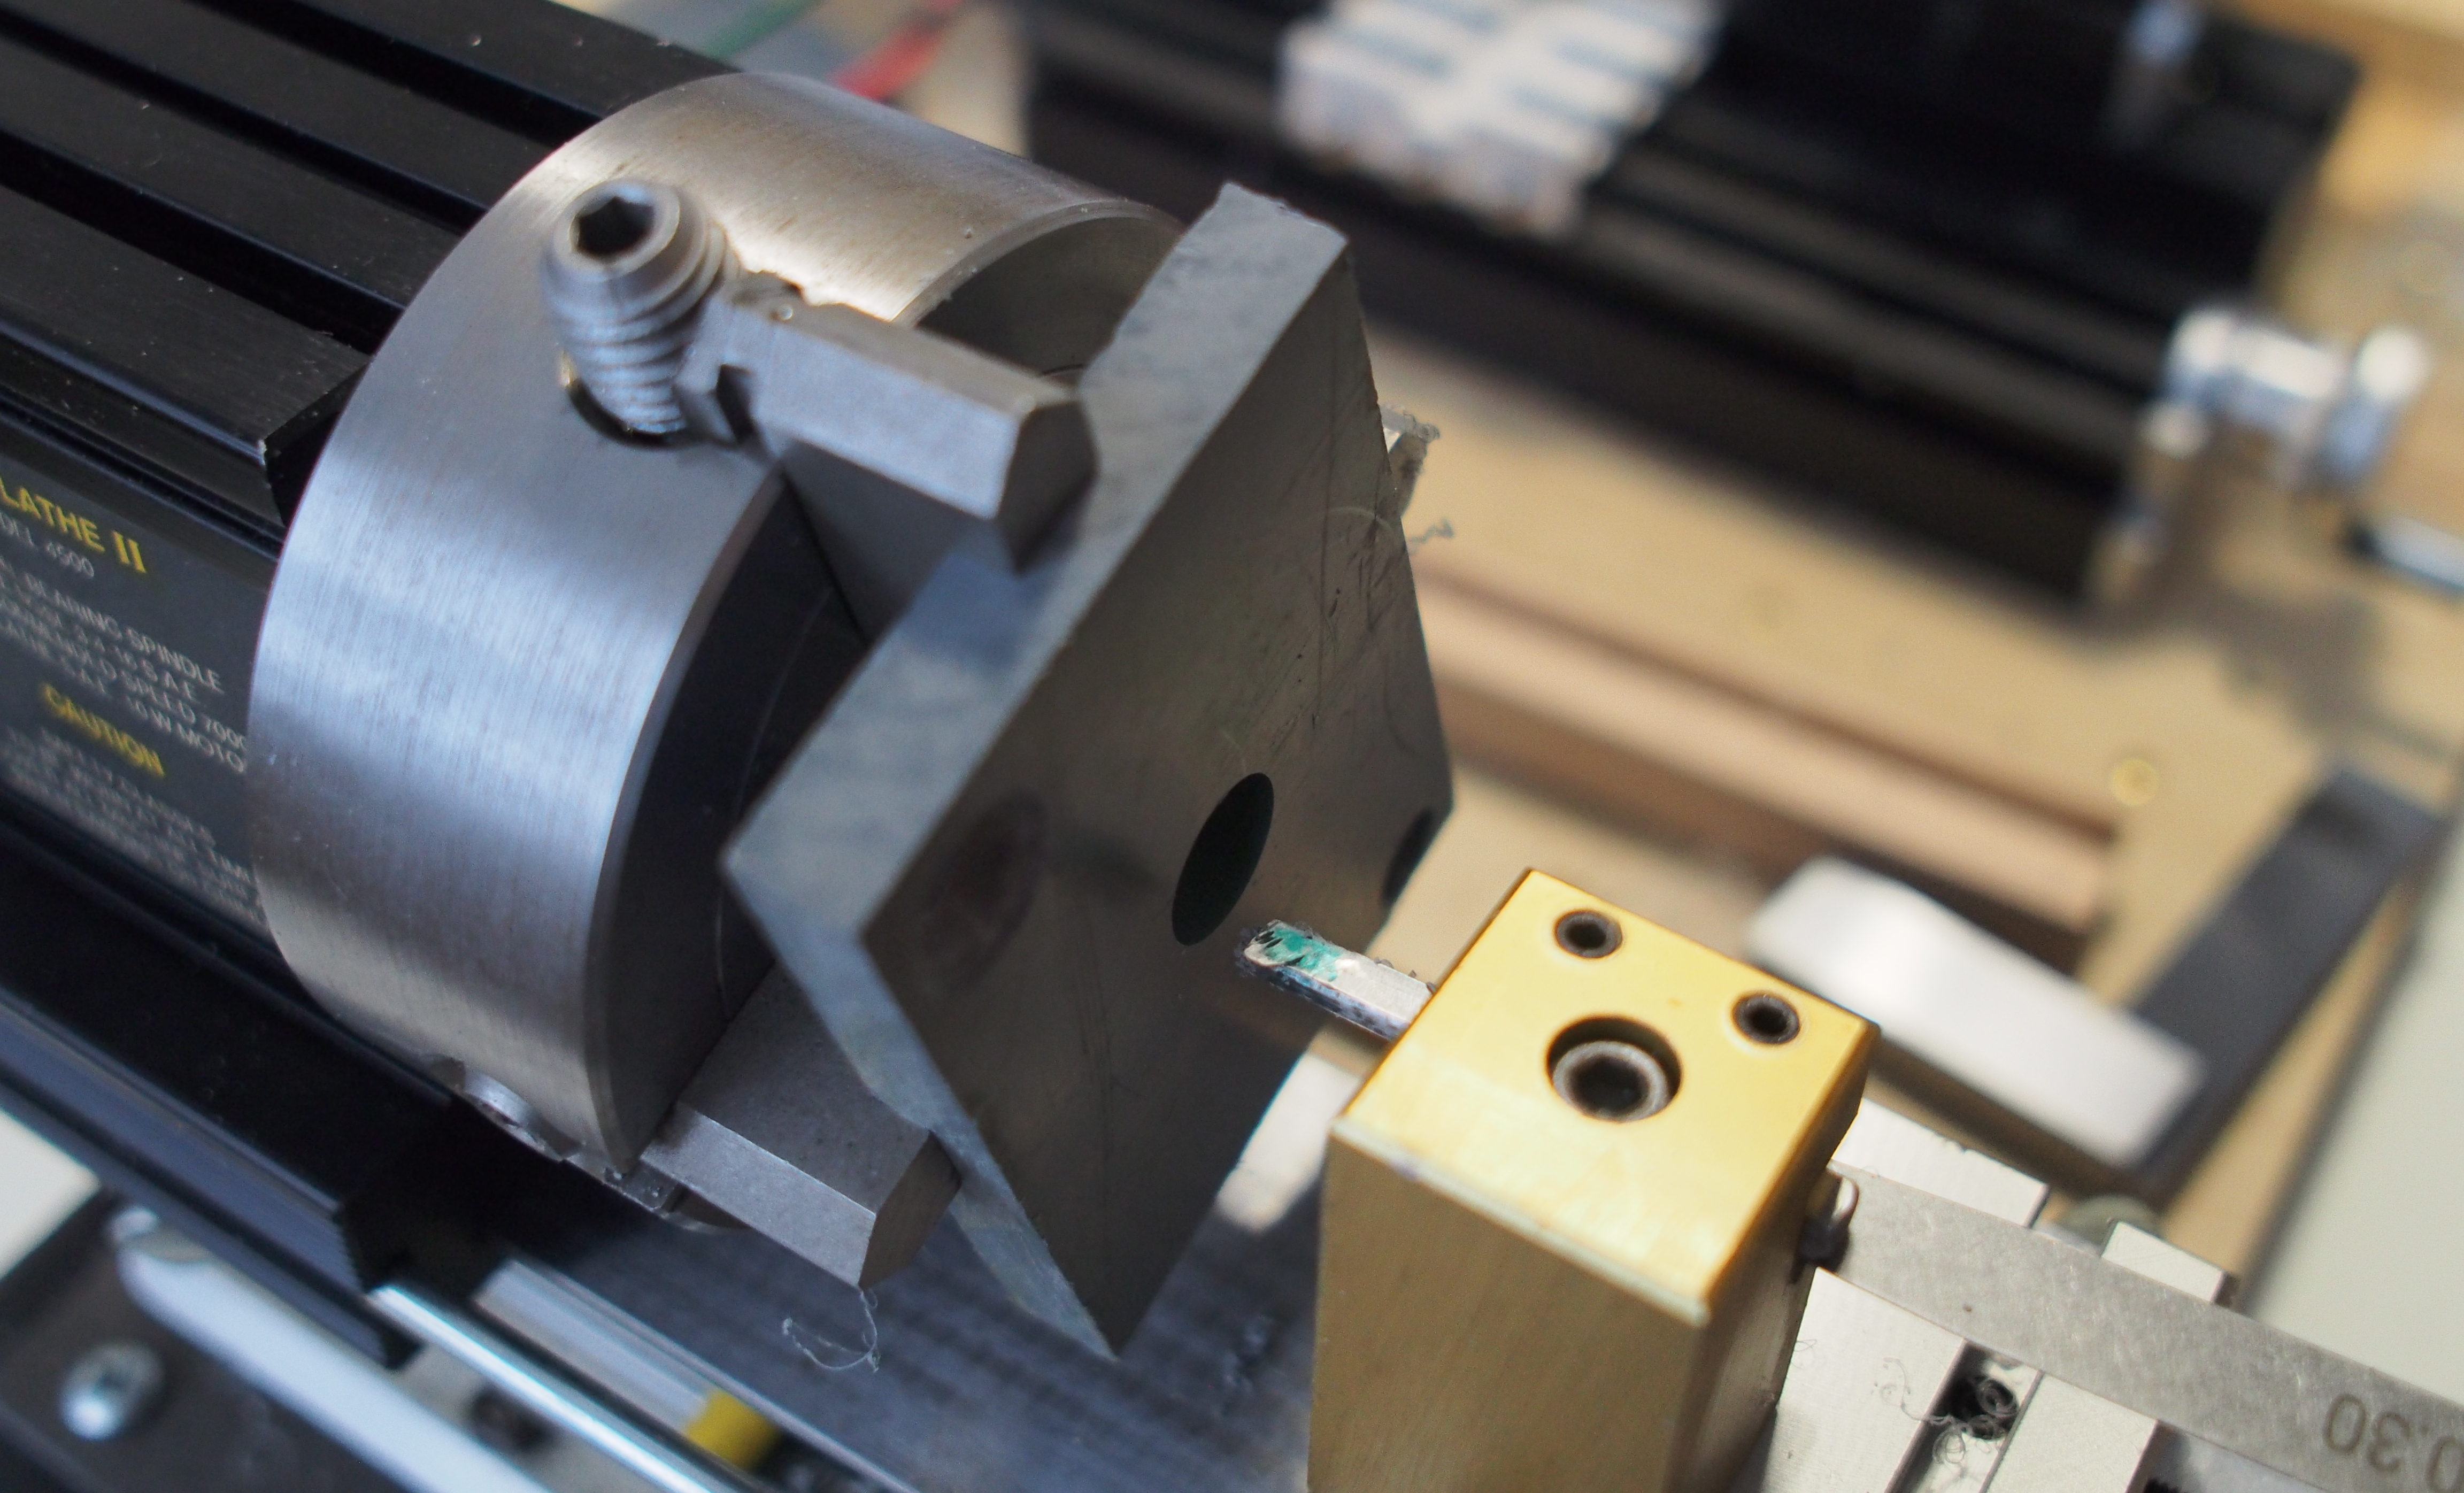
Meanwhile, I picked a piece of plastic and cut it to size and mounted it. I tried to get it pretty well centered up. As it's a rectangle, one pair of jaws will be quite wide and one pair quite close. Once I was convinced it's as good as I can get it, I center drilled the piece and started to check how the old 4 mm boring bit looks like in the Taig.
Boring
One problem I have here is that the tailstock chuck can only mount up to maybe 6.5 mm and the boring bit I ground should really have 8 mm hole to start with. To get around that, I used a stepped bit in a hand drill to make the hole larger. I just removed the chuck and drilled on it without removing the piece from the jaws. I think the steps go to 13 mm and a few steps smaller is the through hole size. That should be well enough to start with.
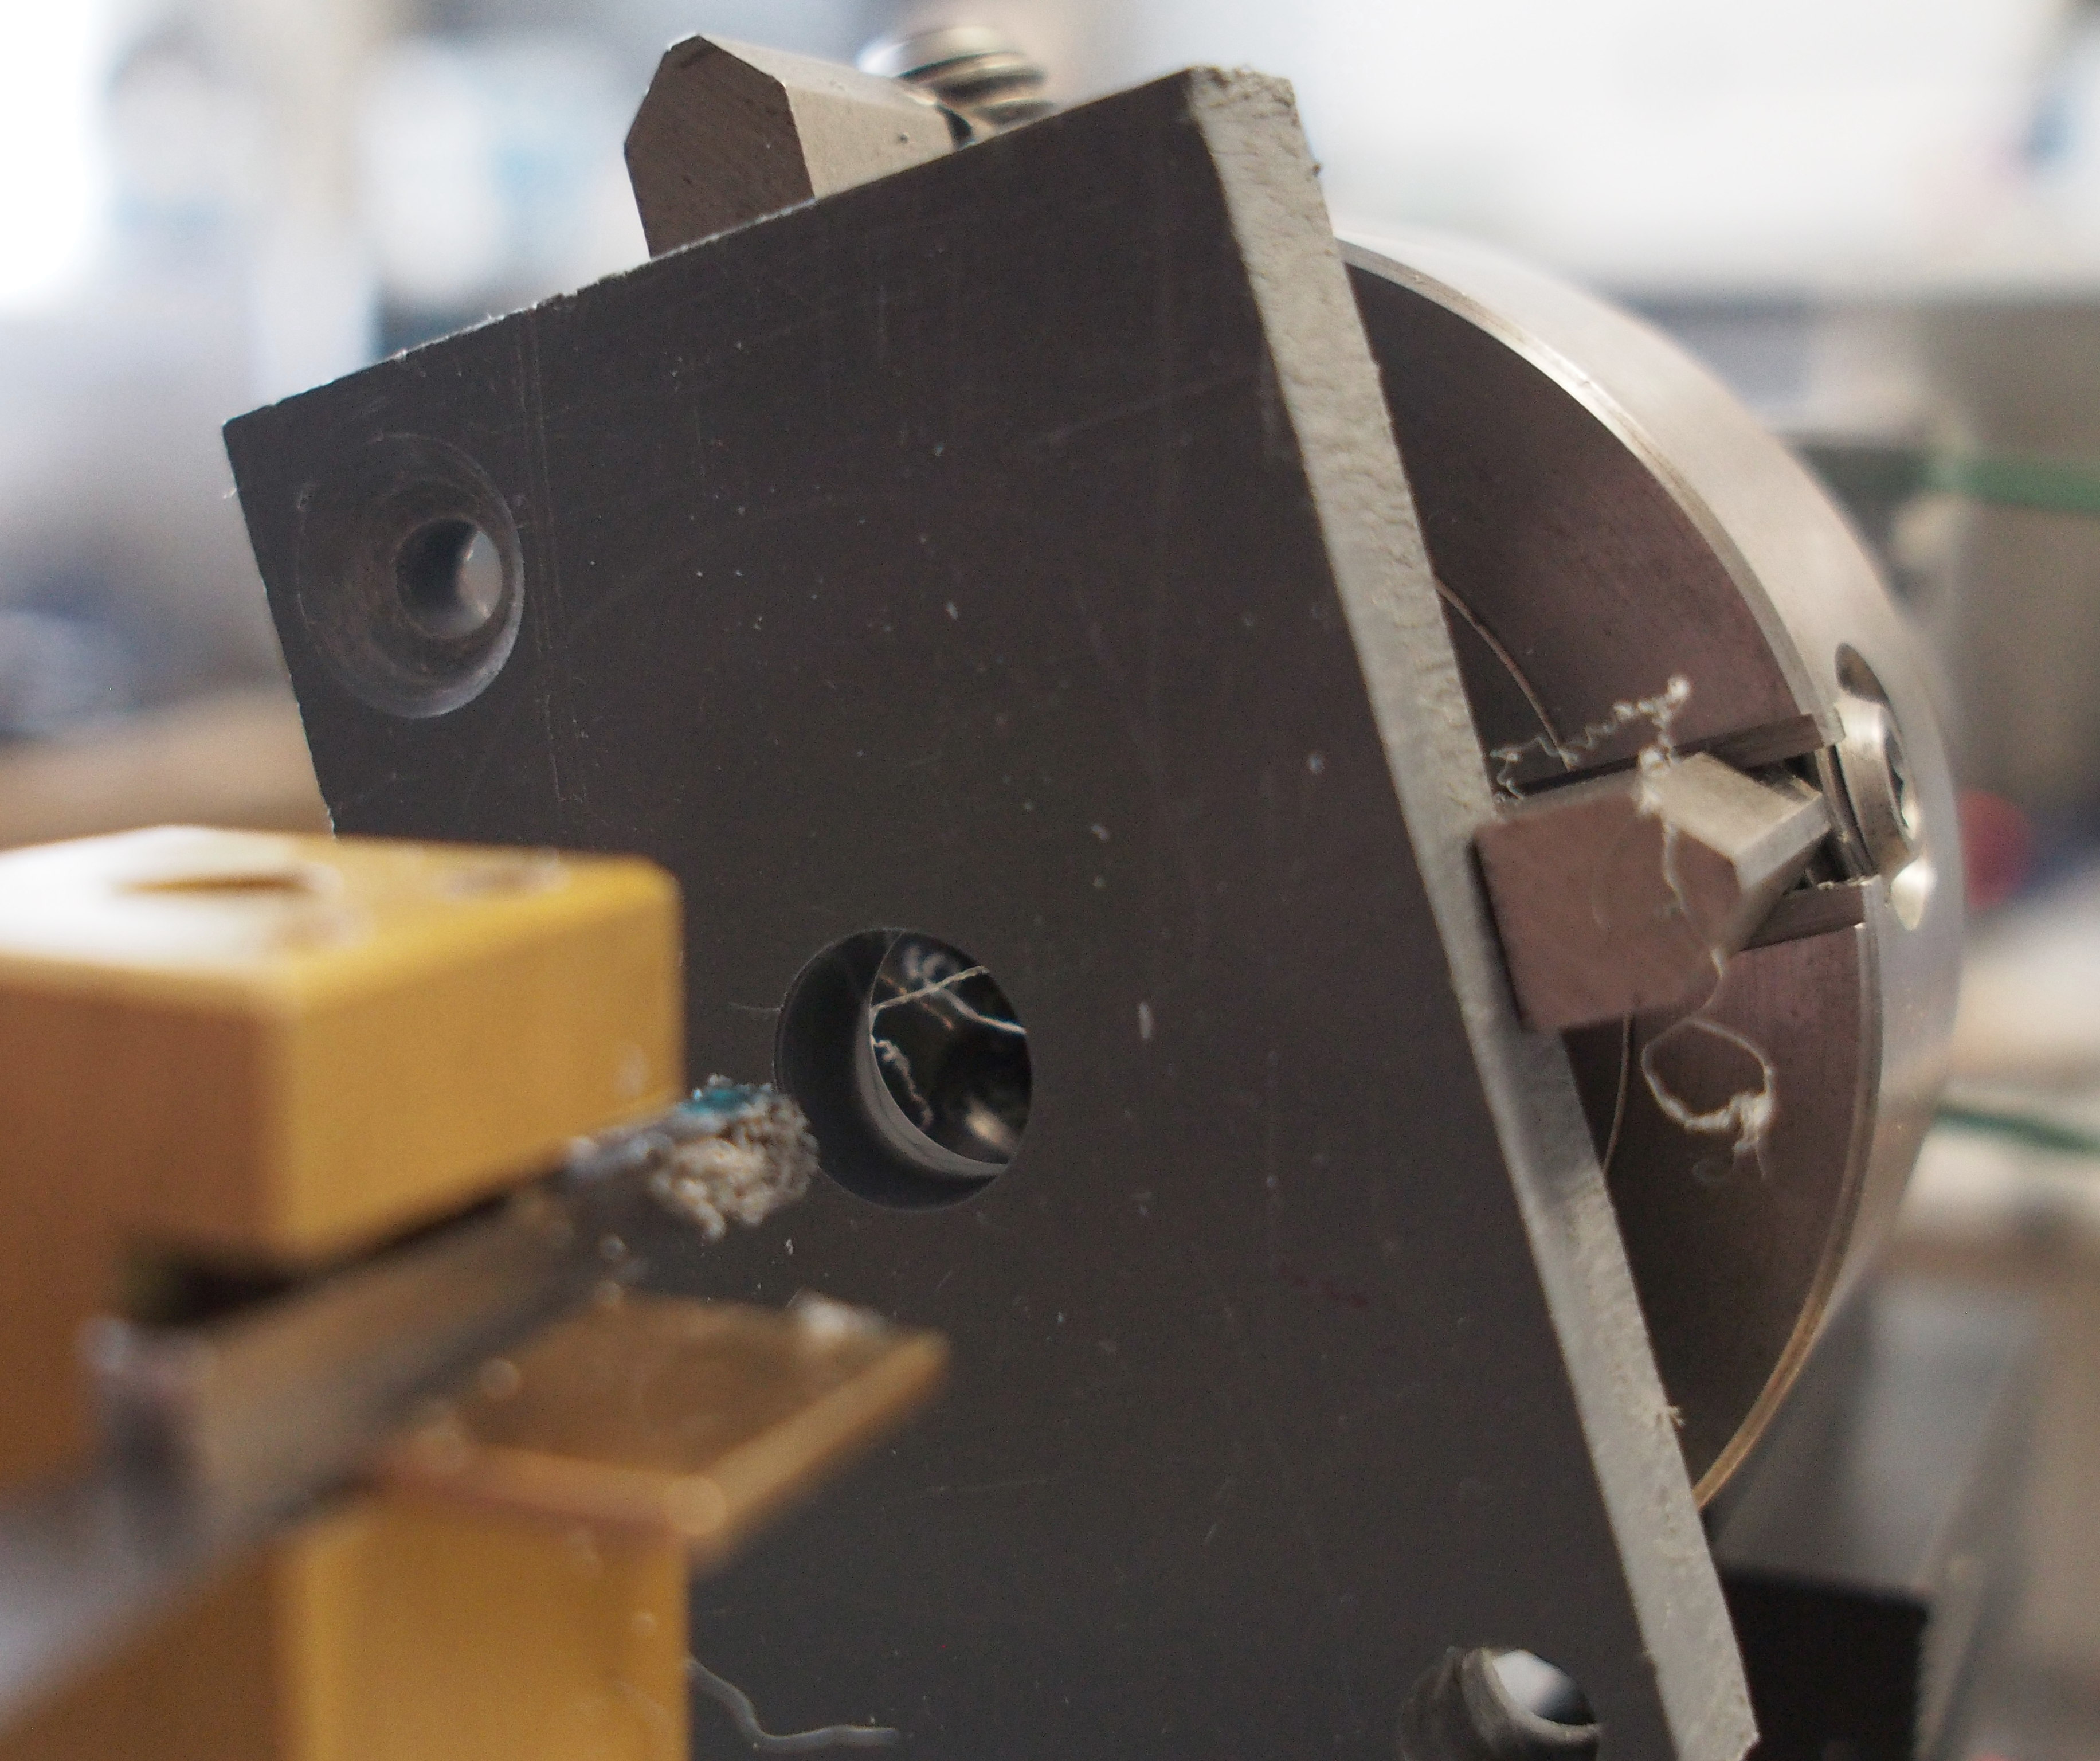
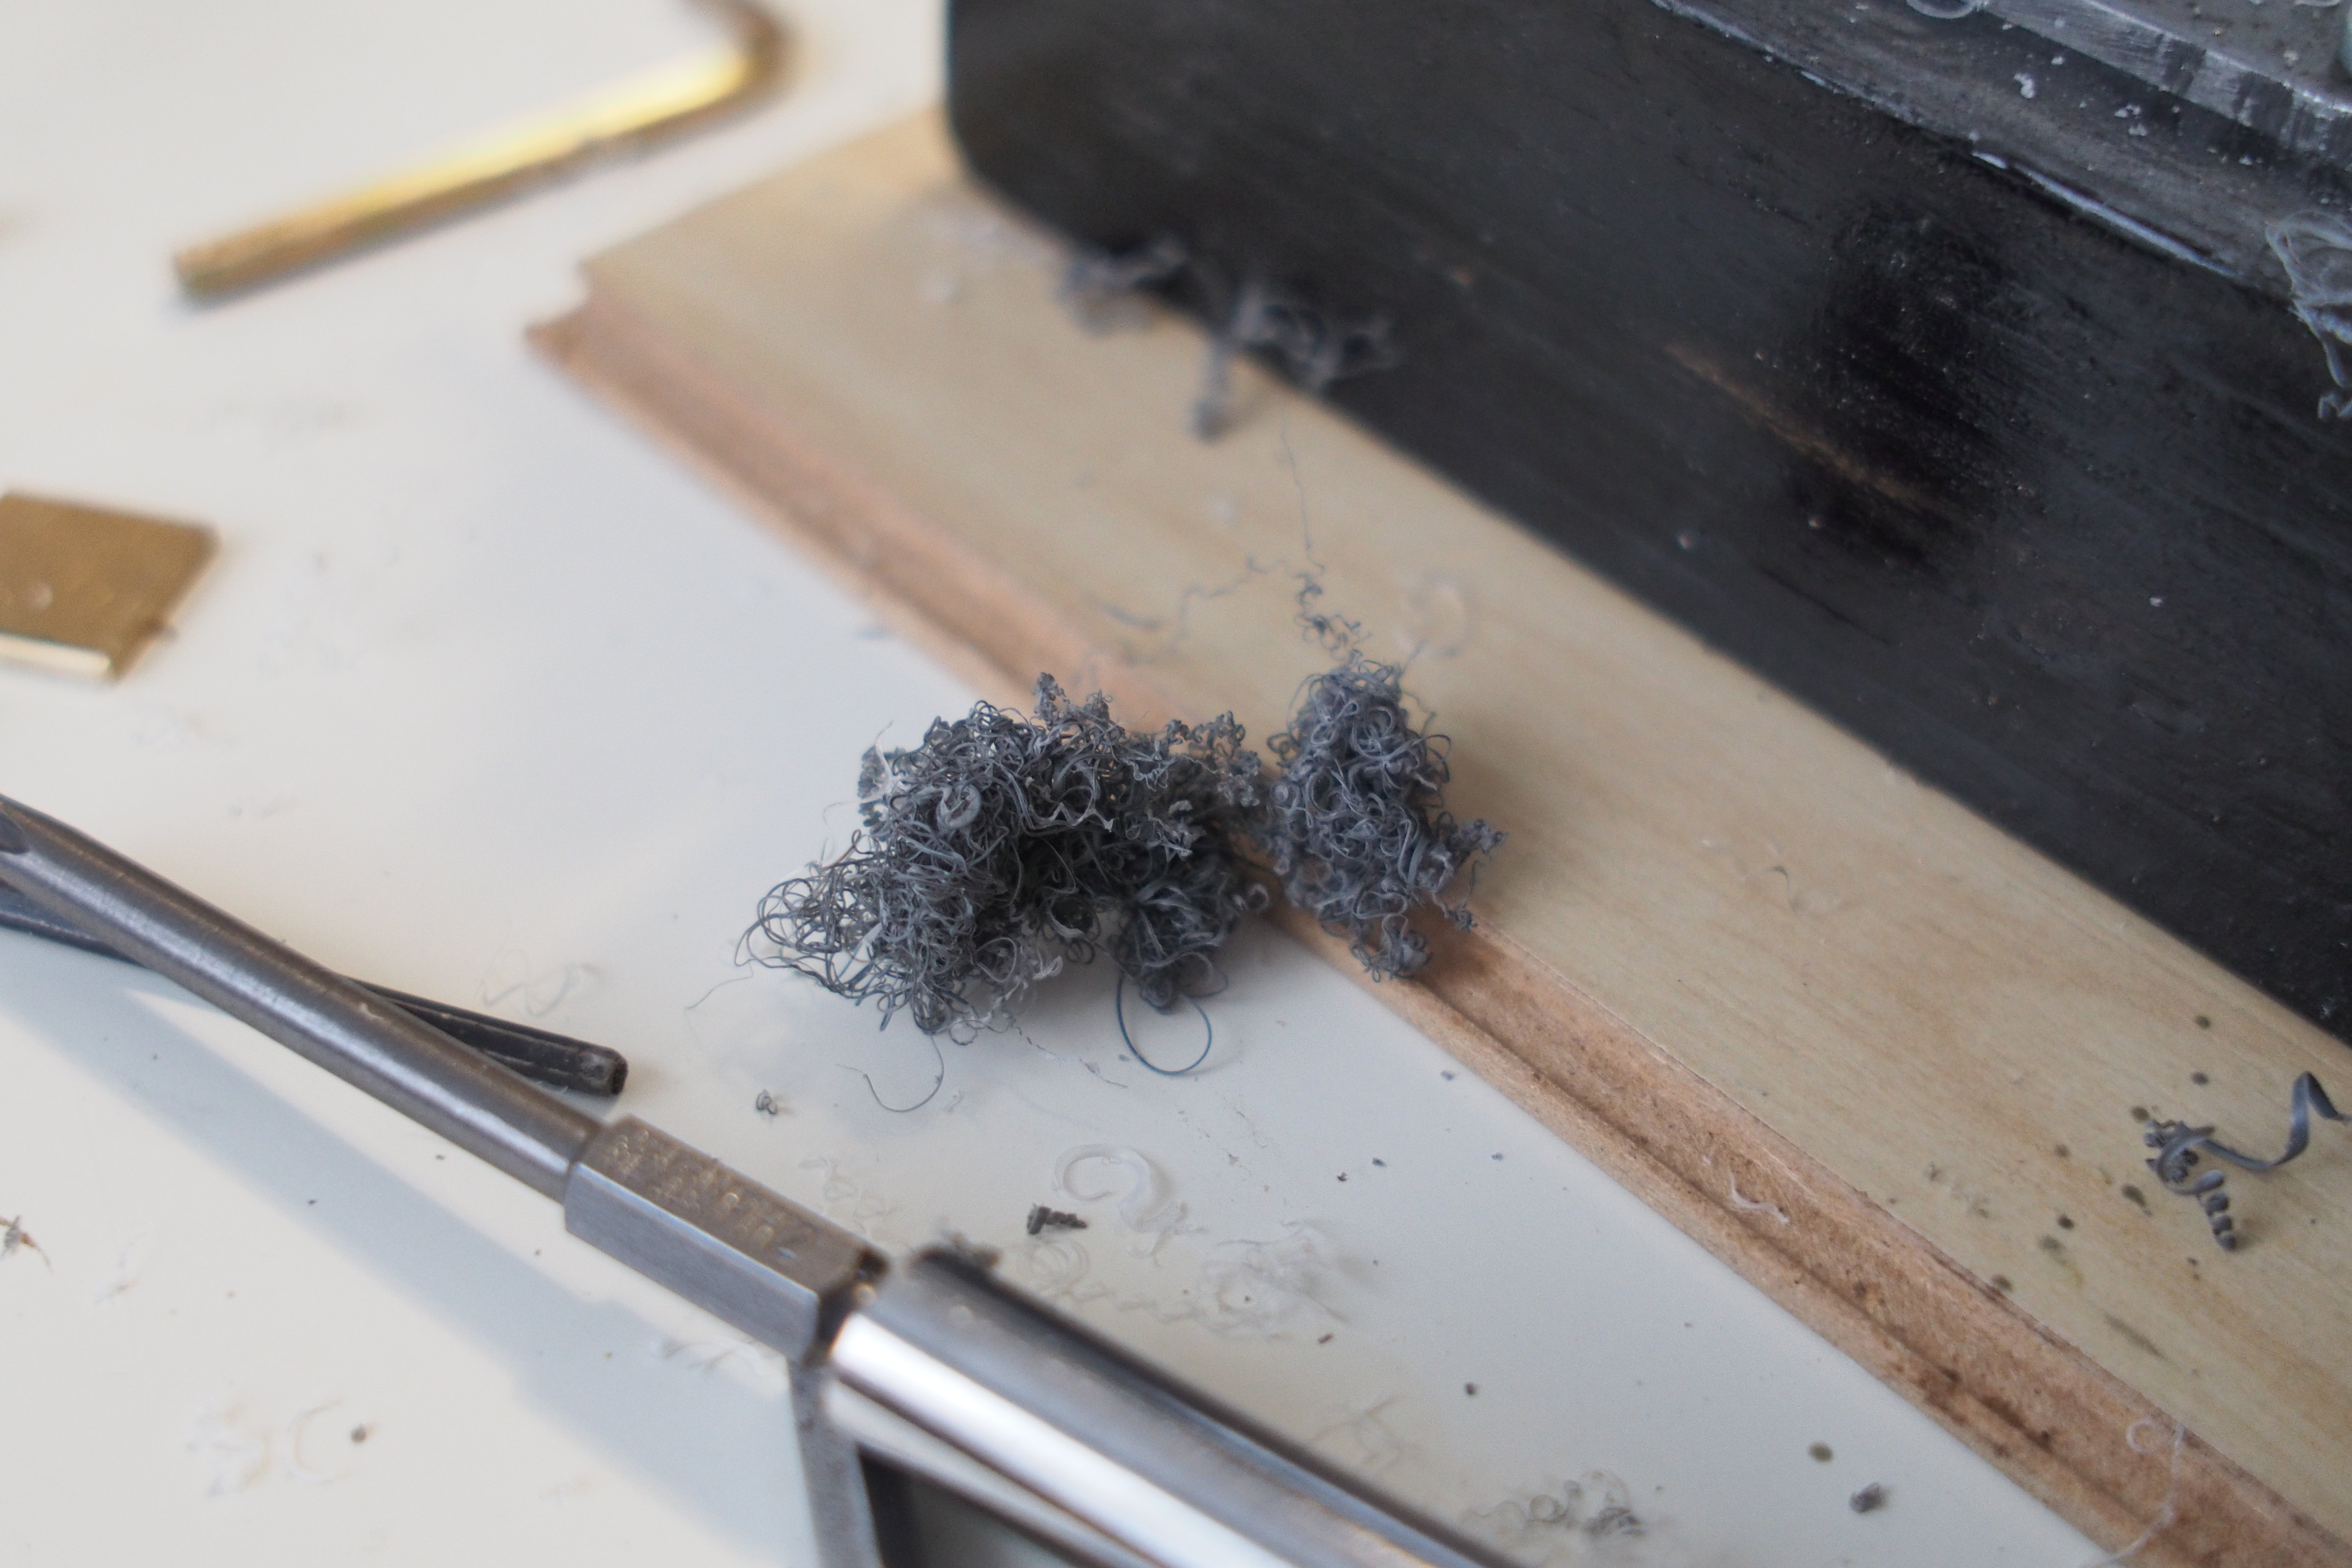
Boring works out very nicely even with this setup. The chips tend to become long curls that tangle up and either end up behind the piece between the chuck jaws or outside and around the tool. Either way, they need to be cleared out every few passes. Sometimes this tangle escapes and then you get a moment of blurry grey spinning around the chuck that then gets ejected in a random direction, like a spooky little flying thing. Quite harmless, and very easy to clean up, though!
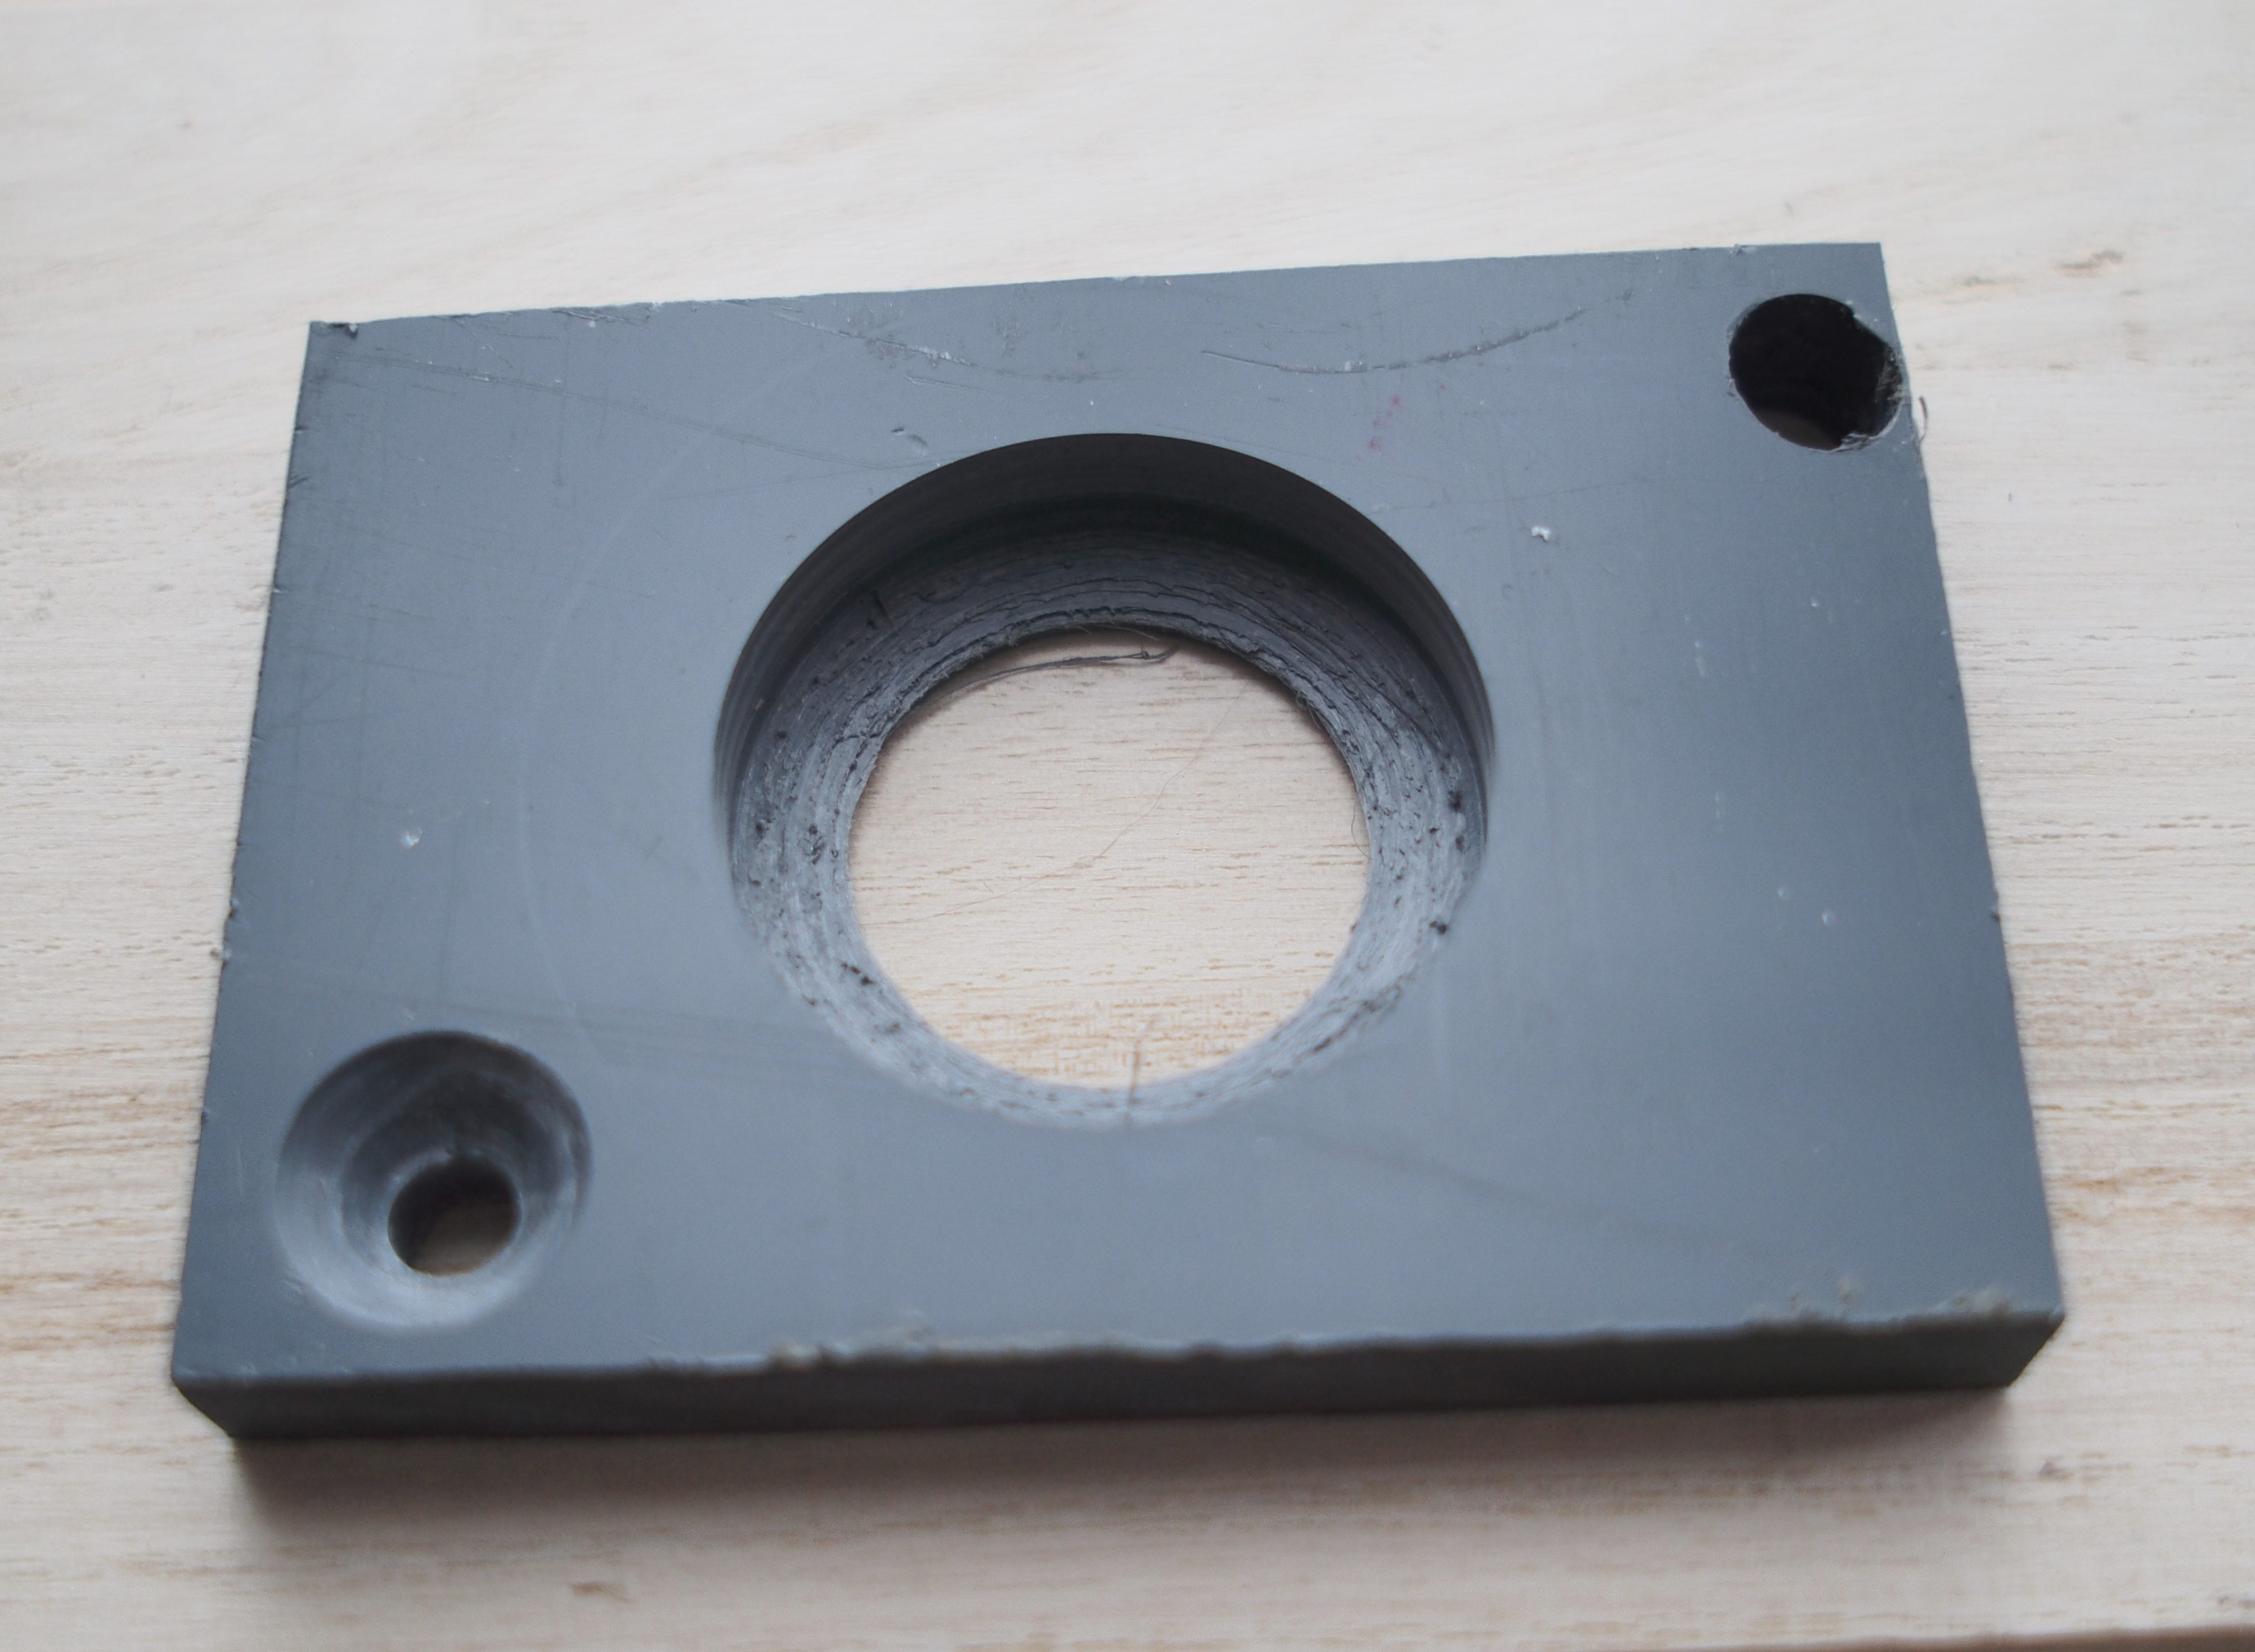
I wanted to avoid getting close to the jaws, so I stepped back the depth towards the end. It was easy enough to clean out the hole with a knife afterwards. That's one mount done. I'm hoping to get by with one for now.

I cut and drilled the plastic to make a clamp. This fit the motor just about perfectly and I could use the Unimat to sand the edges right. Overall, I'm surprised how well that all worked out.
Diversion: small pieces
Sometime here, I got distracted and decided to try that small size limit. I mounted and tried to center a bit of 4 mm stainless (I presume) steel. I have a massive bag of these so it would be nice to know what I can do to them in case I get an idea what to do with them.
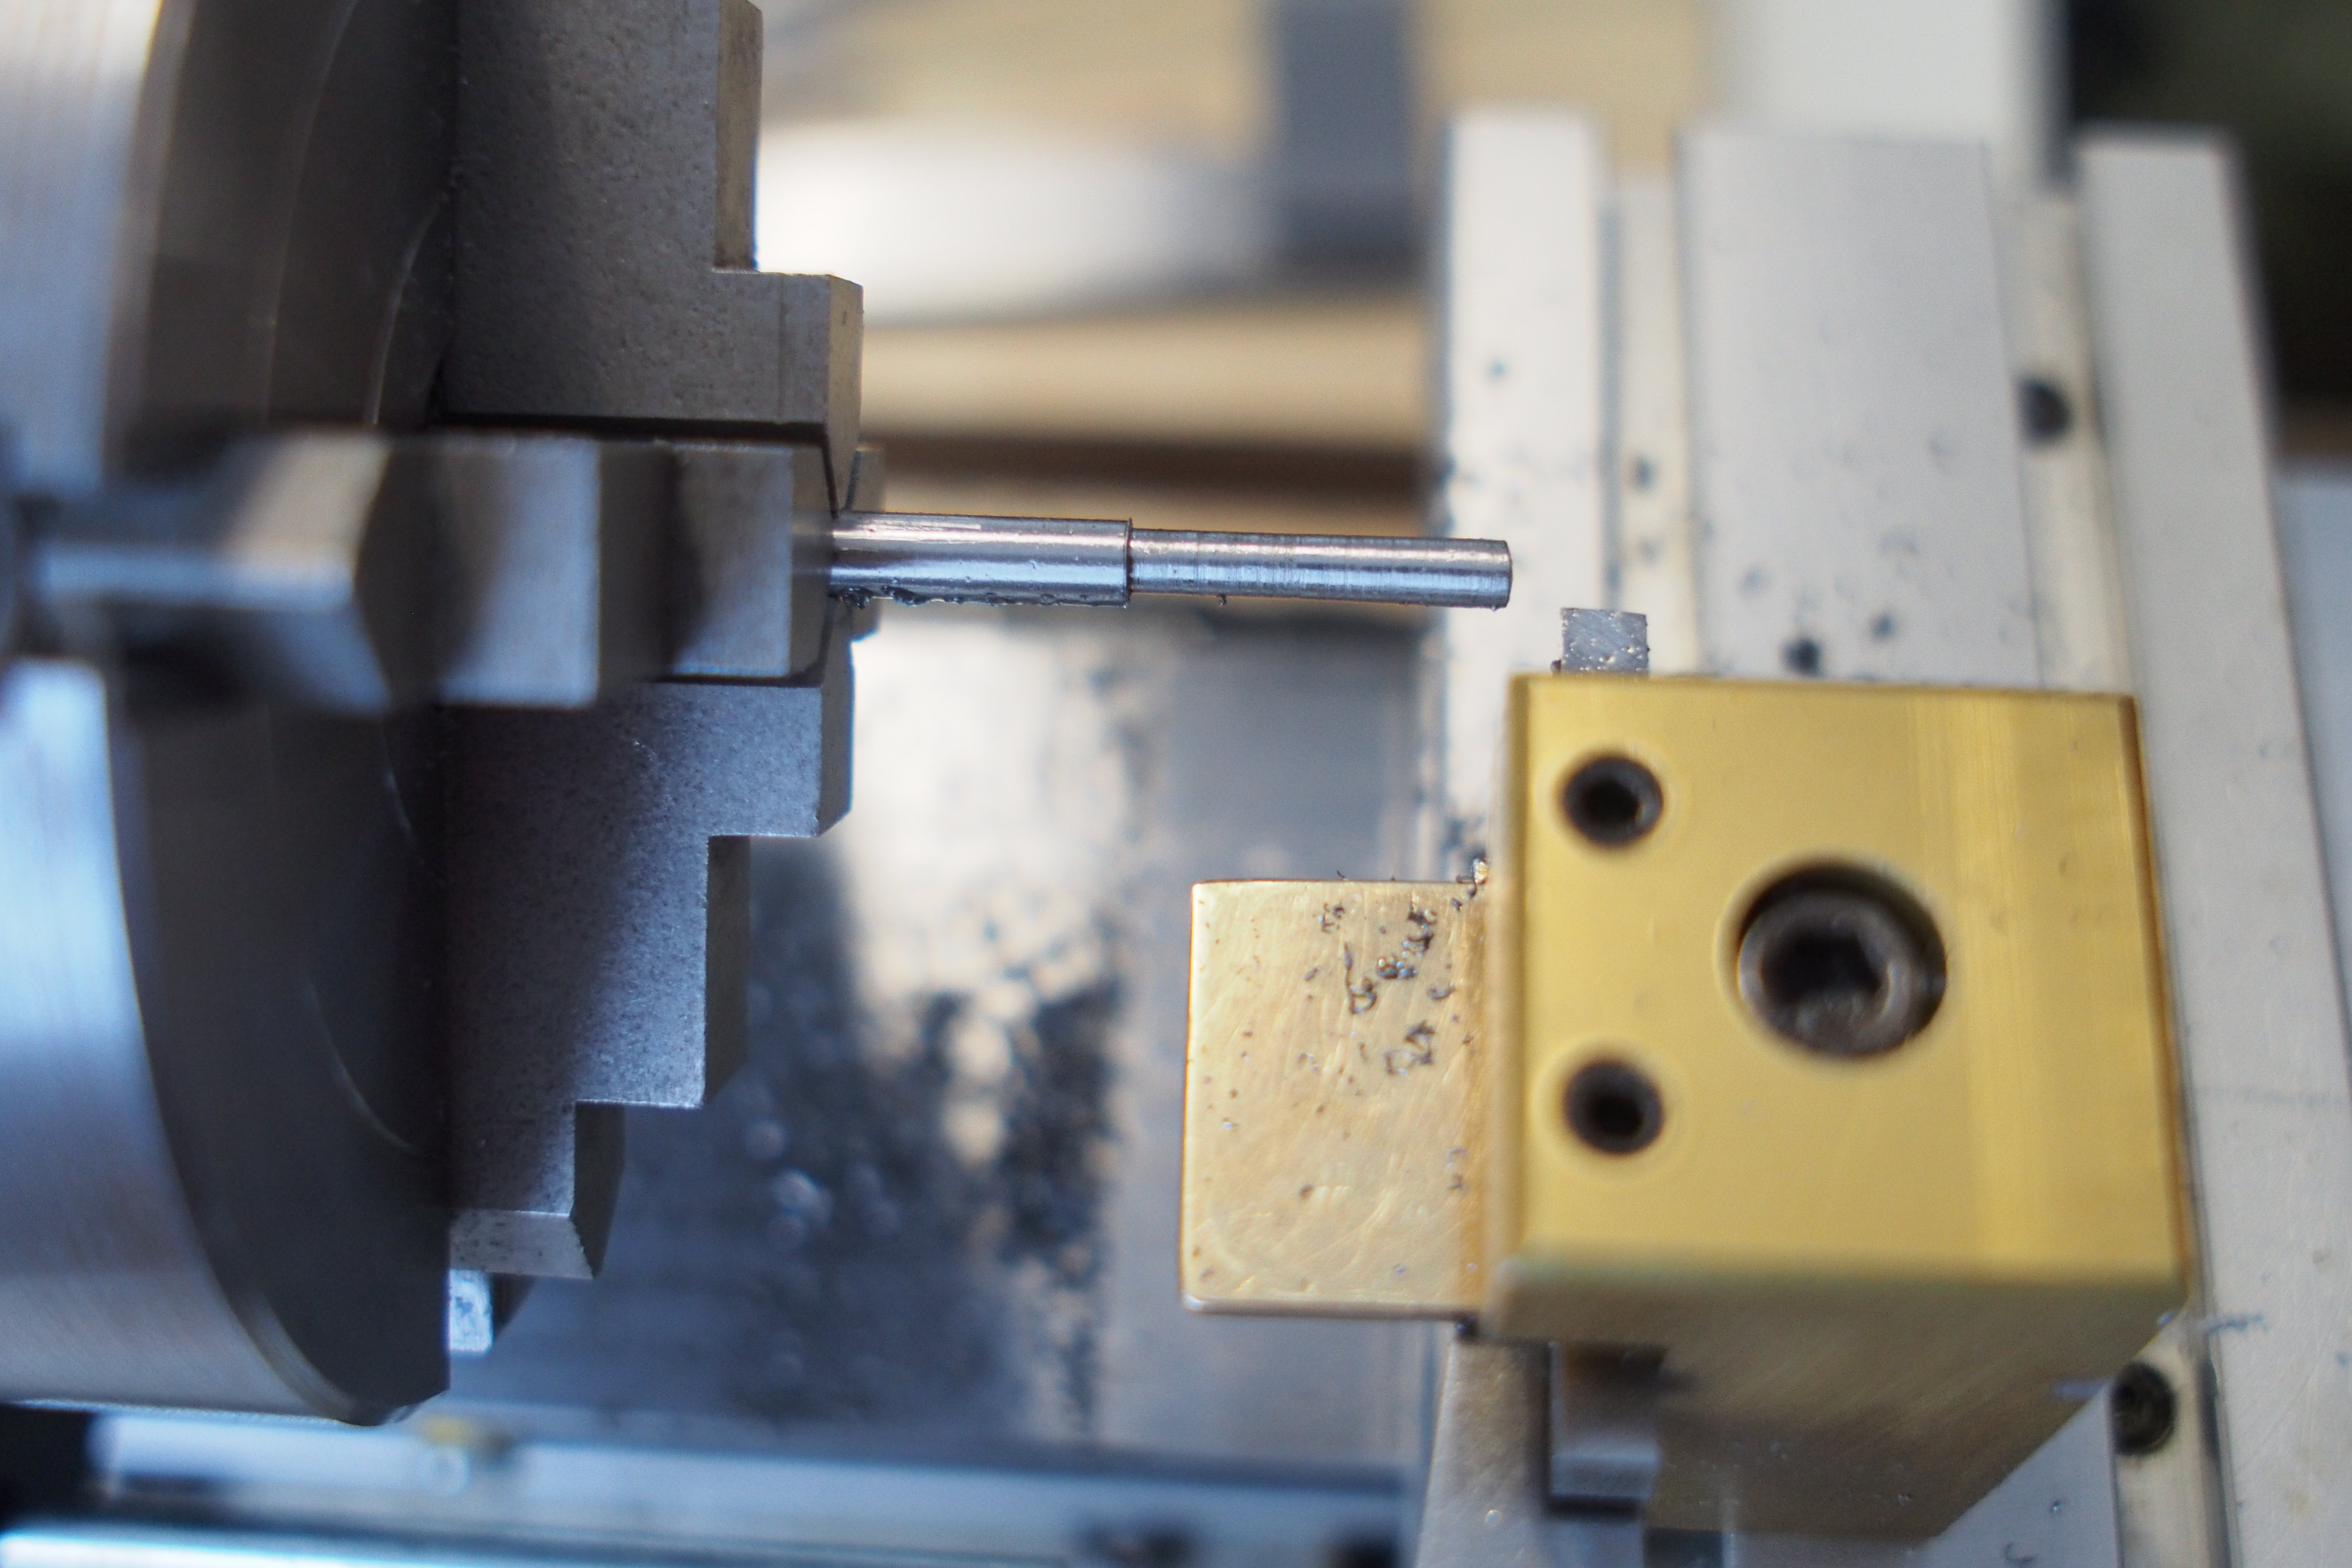
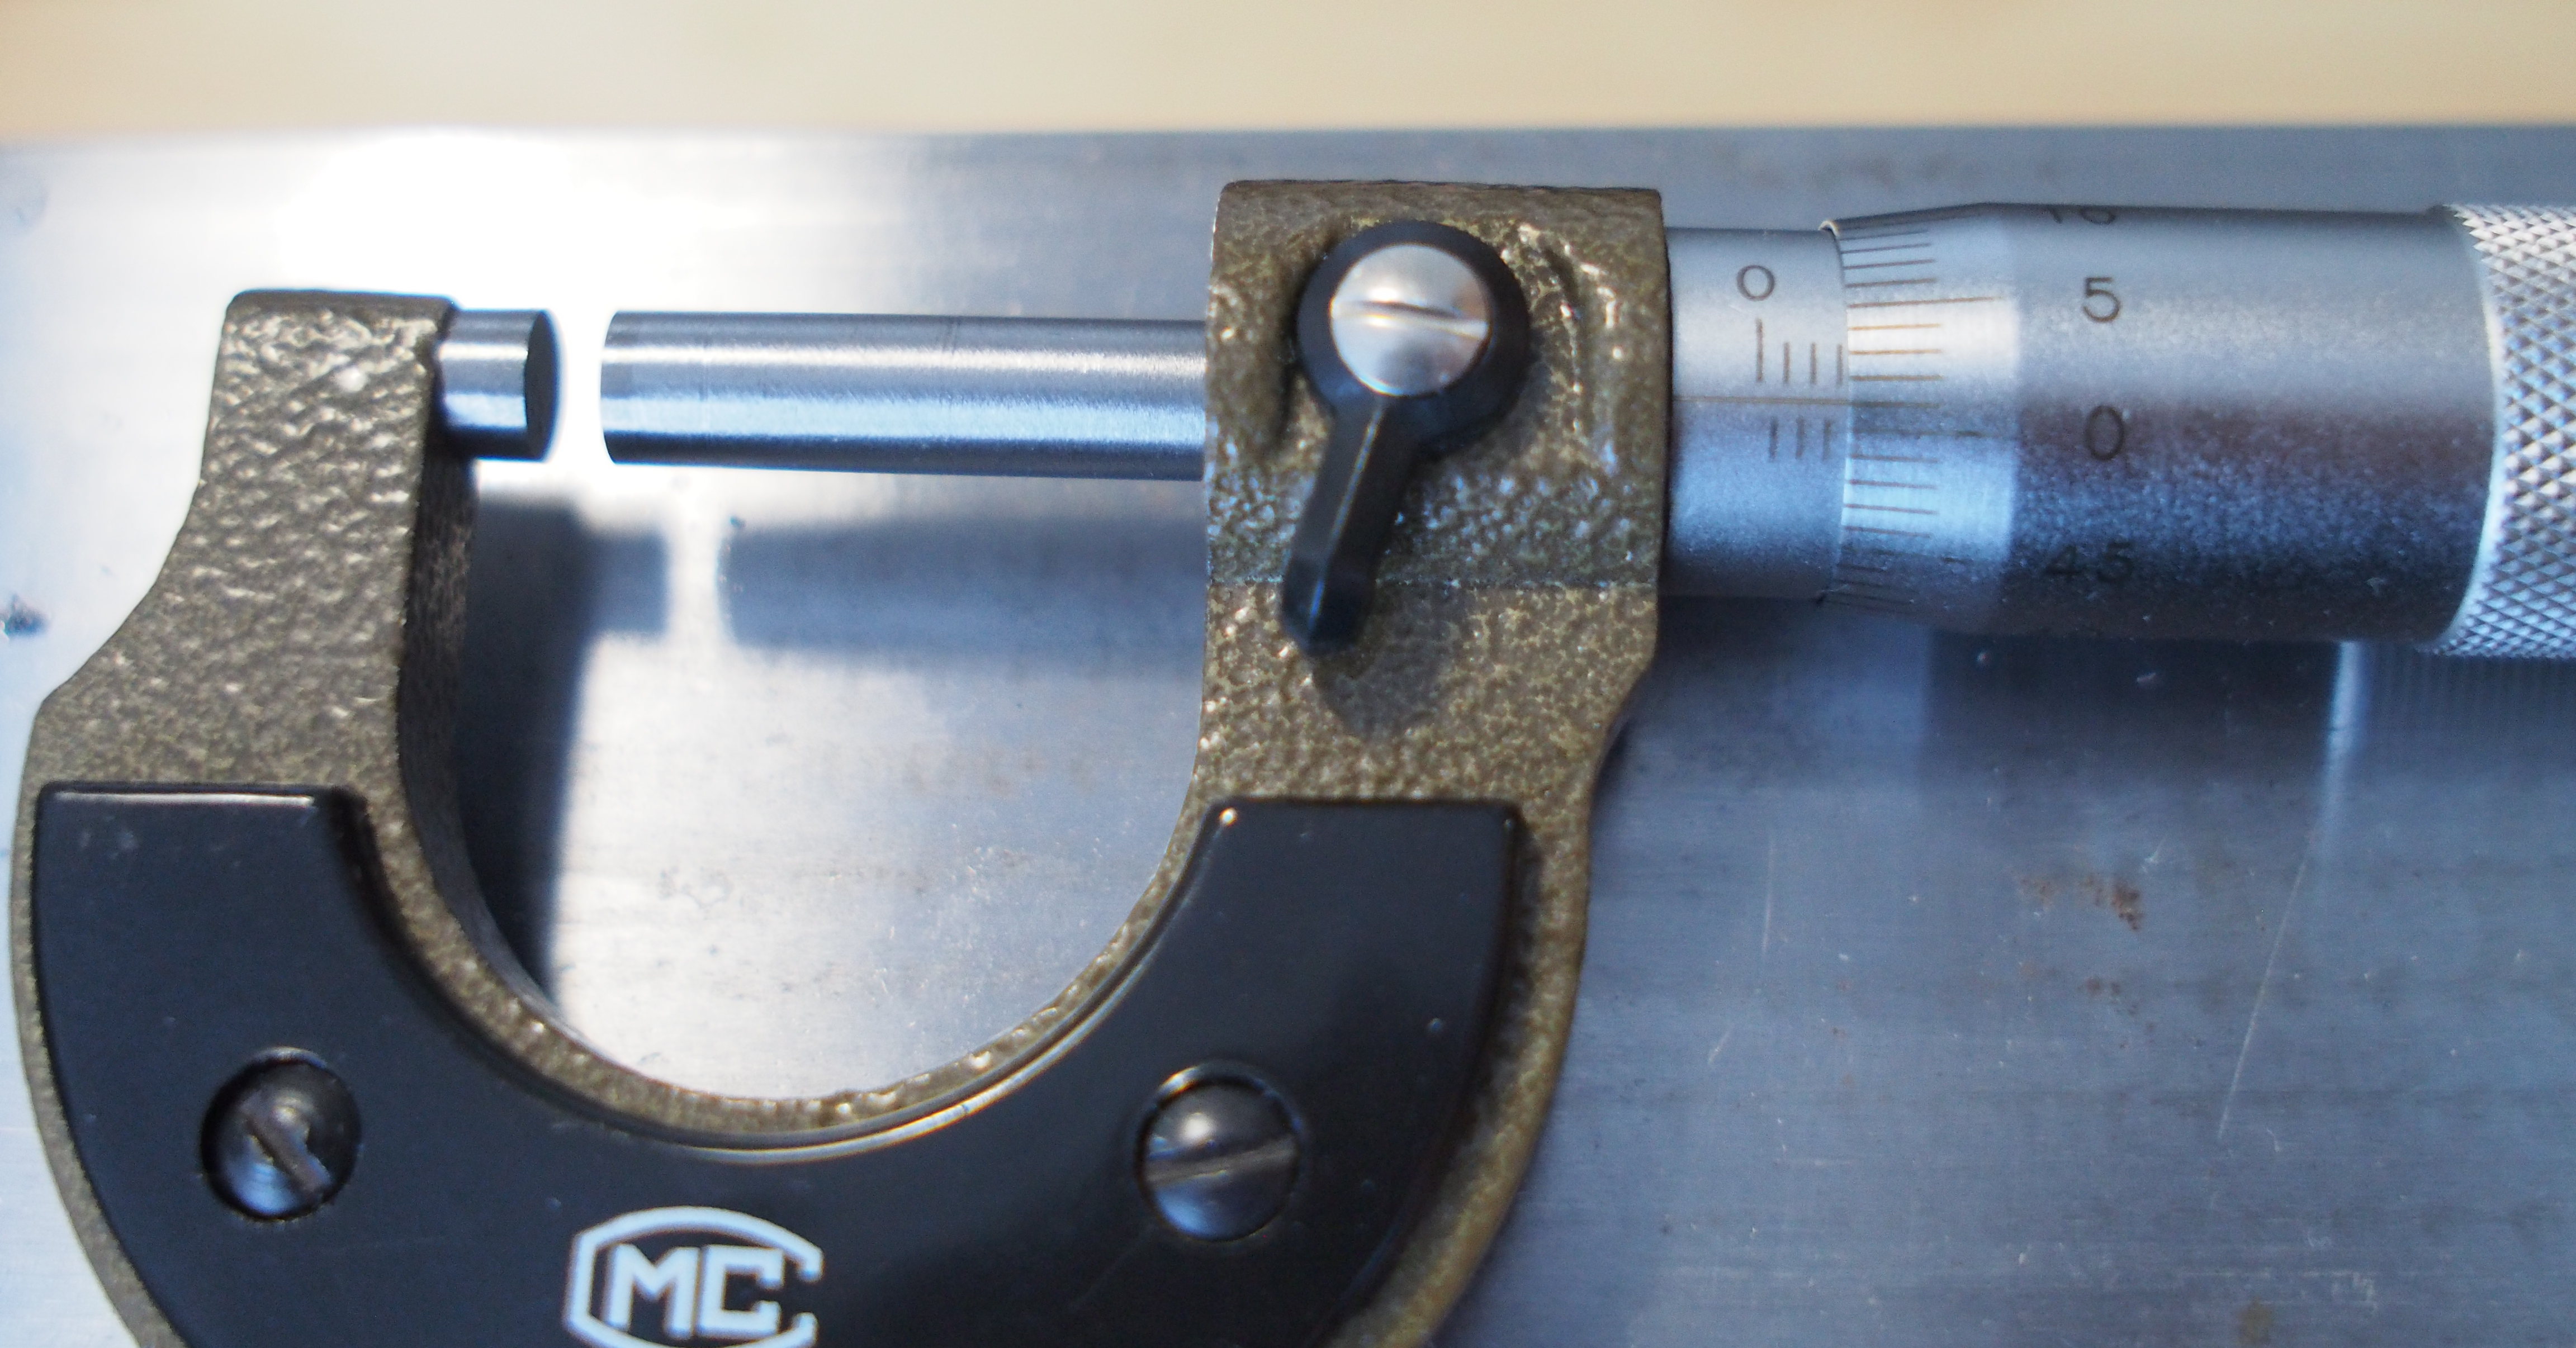
These pins are hard to center and seem to flex without support. Turning doesn't quite work like this, but I still managed to take some chips quite easily. I aimed for 3 mm and hit quite close near the shoulder. Farther out the size is larger and I could compensate. Still, a close grip and tailstock support would help.
Putting it all together
Back to the kitchen..
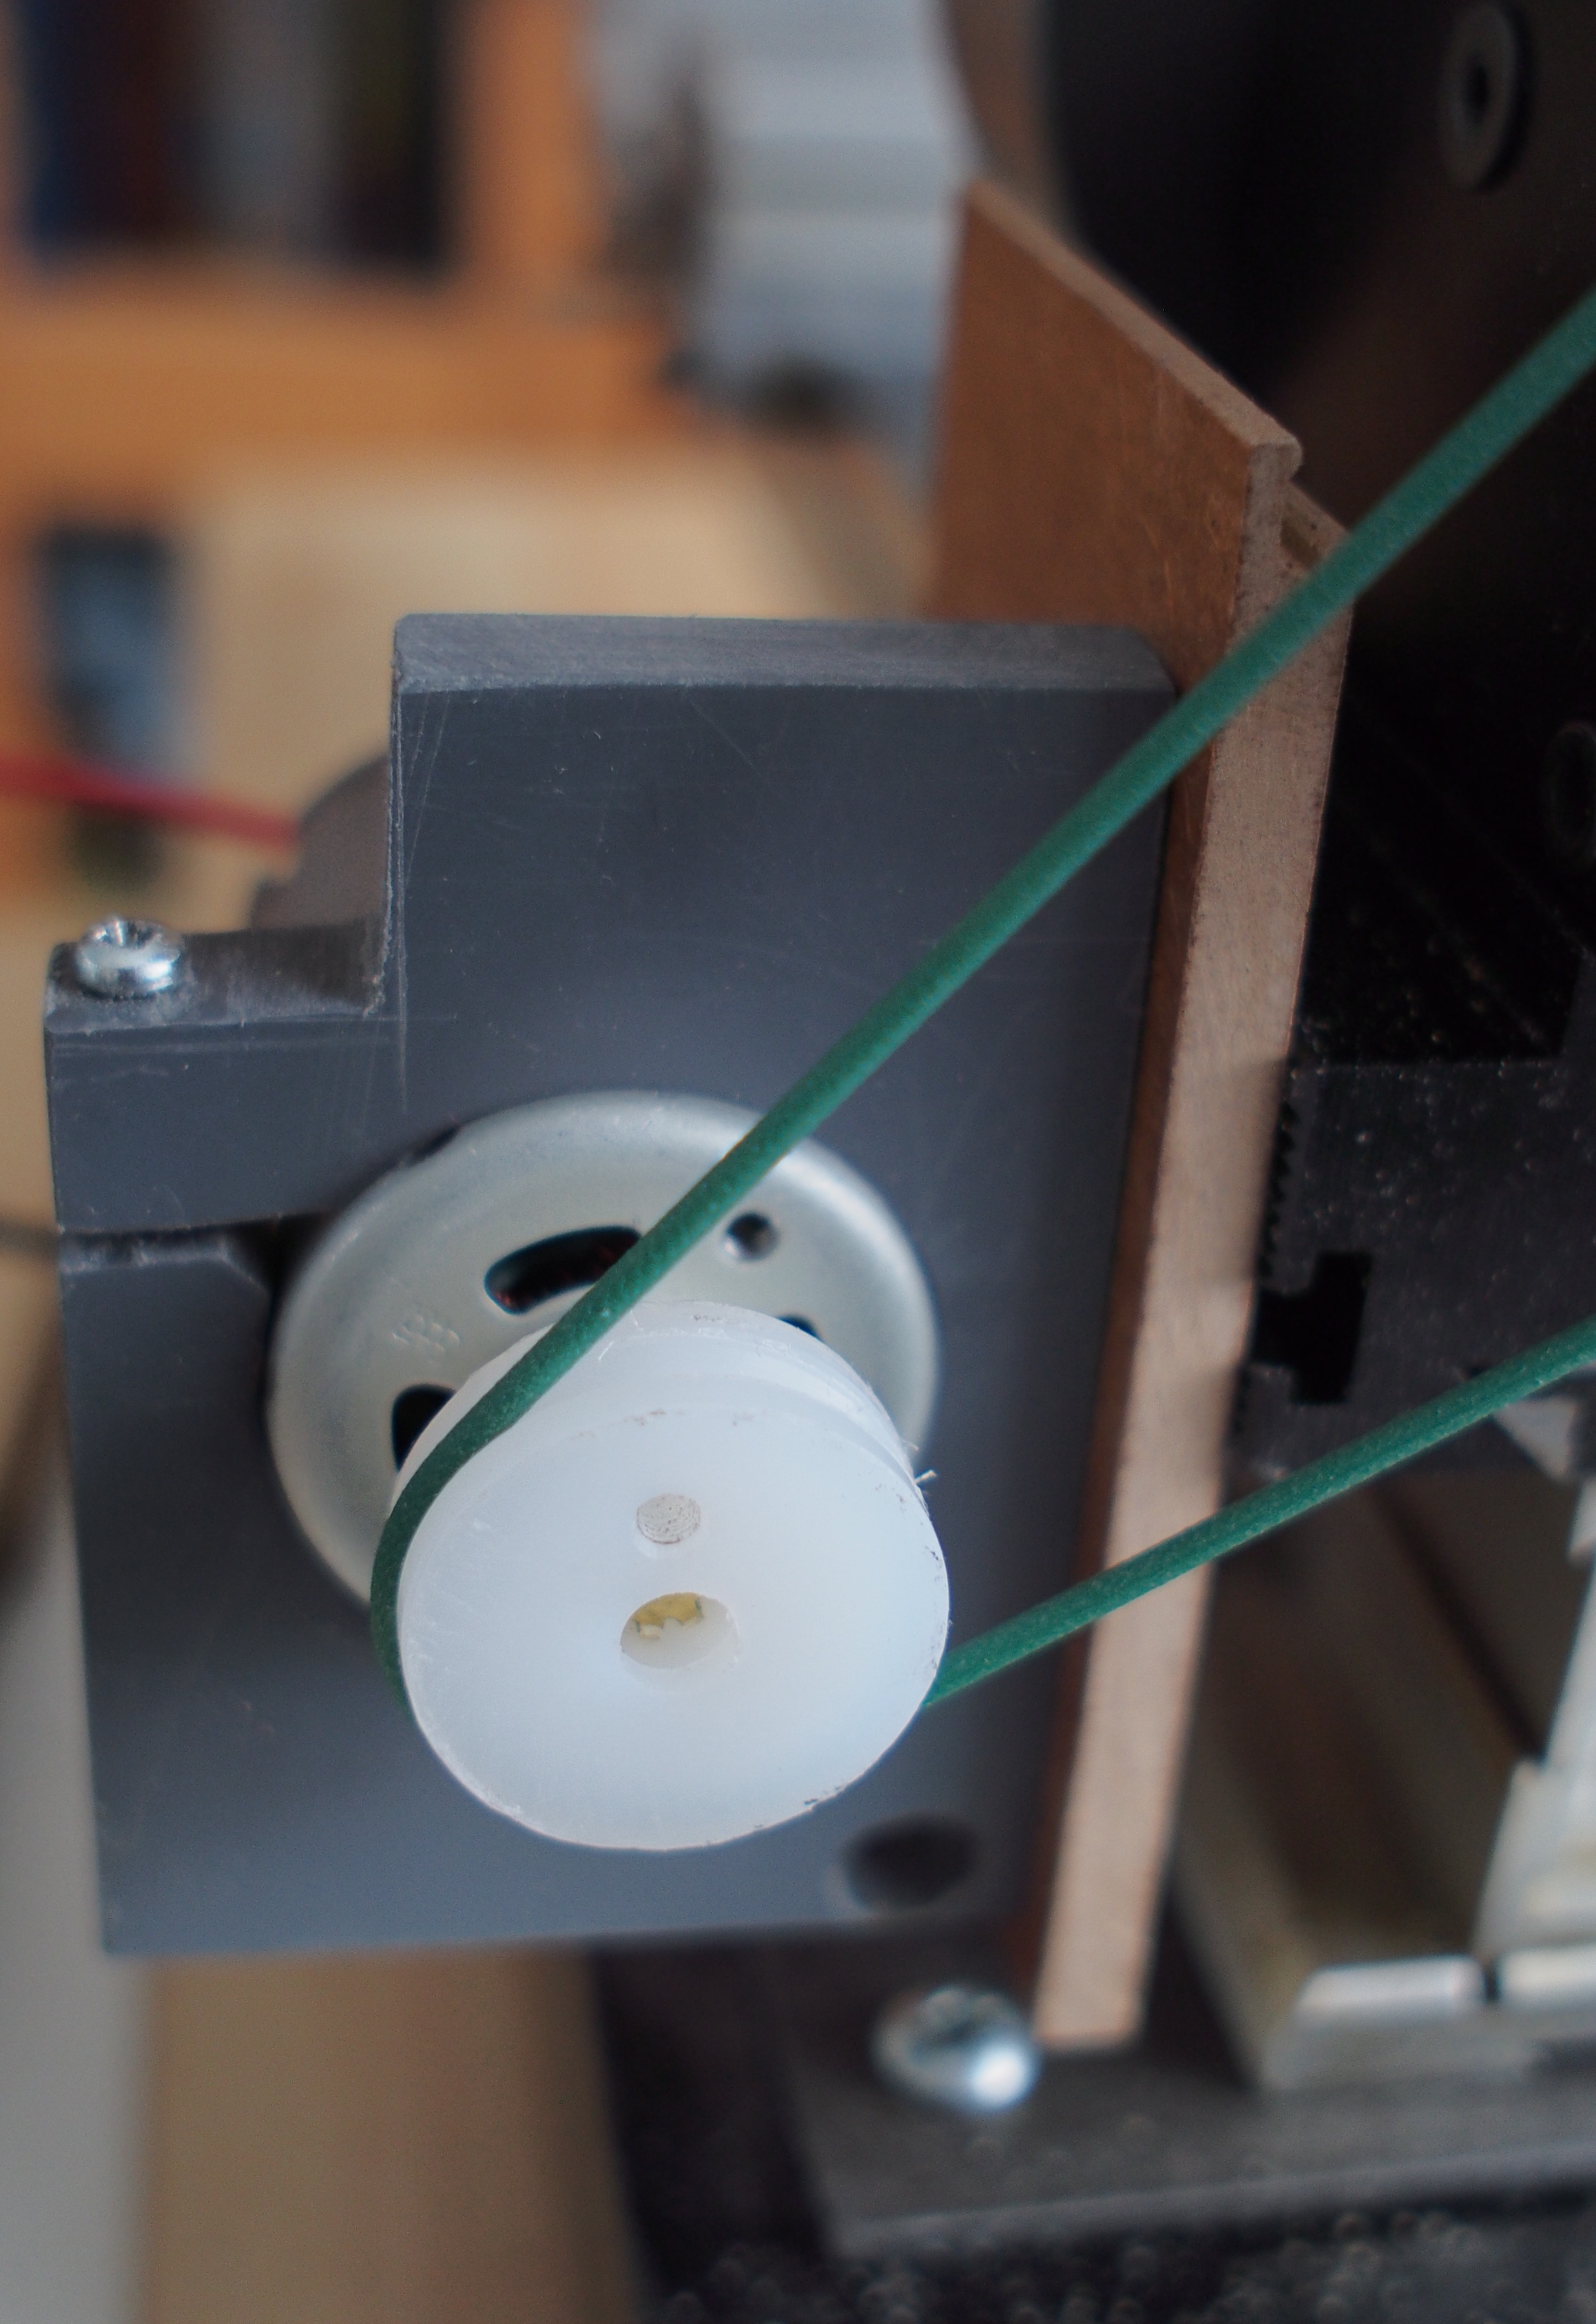
I made another little plate from floor laminate to hold the motor to the Taig body. It seems a surprisingly good fit after welding a new belt. Using a drill battery pack, the motor even turns quite nicely. I'll have to see what kind of supply I have to rig to get it to run and how well it copes with load.
Not only this hopefully gets me out from the bootstrap arrangement, but also it'll be a useful experiment to see how much motor and electrical power I need and how this type of belt copes.